Как перенести свою музыку в Spotify из других сервисов: Apple Music, Яндекс.Музыка и ВКонтакте
 В закладки
Судя по активности в русском сегменте интернета, жизнь отечественных меломанов разделилась на до 15 июля, и после: вот уже два дня мы с удовольствием пользуемся шведским музыкальным сервисом Spotify.
Он отлично подбирает новые треки на основе наших с вами предпочтений.
Но что делать тем, у кого уже собрана богатая библиотека плейлистов в Apple Music, Яндекс.Музыке, ВКонтакте, Google Music, и даже в SoundCloud?
Ответ прост – можно перенести любовно собранные треки в Spotify, и ниже вы узнаете 3,5 способа, как это сделать.
Почему три с половиной? Потому что один способ работает не со всеми стриминговыми сервисами, второй попросит денег, а с помощью третьего вообще можно перегнать свою медиатеку из одного музыкального сервиса в другой через мобильное приложение. Половинка – это отечественная разработка, может тоже пригодиться.
Выбирайте, чем воспользоваться:
1. Tune My Music
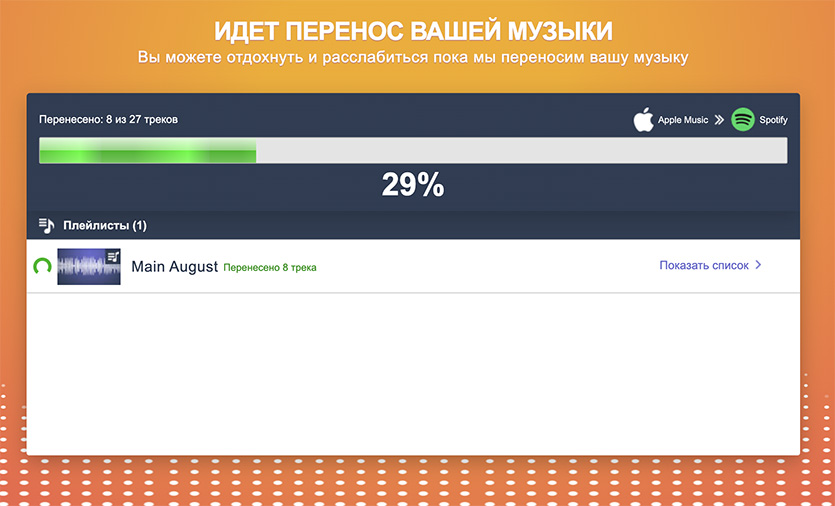
Доступен обмен музыкой между сервисами:
▪︎ Apple Music
▪︎ Google Music
▪︎ YouTube Music
▪︎ Deezer
▪︎ Tidal
▪︎ Amazon Music
▪︎ Moodagent
▪︎ Qobuz
▪︎ SoundCloud
▪︎ Napster
▪︎ Kkbox
▪︎ LastFM
▪︎ Soundmachine
Плюсы:
▪︎ Не нужно регистрироваться
▪︎ Перенос музыки полностью бесплатный
Минусы:
▪︎ Нет поддержки отечественных сервисов Яндекс.Музыка и ВКонтакте
Сервис Tune My Music отлично подойдёт тем, кто хочет перенести свои плейлисты в Spotify с западных музыкальных платформ, в частности из Apple Music.
Алгоритм действий простой: нужно зайти на главную страницу, выбрать сервис из которого вы хотите экспортировать плейлисты, затем выбрать сервис в который вы хотите импортировать плейлисты, и подождать от 30 секунд до нескольких минут, в зависимости от количества выбранных треков.
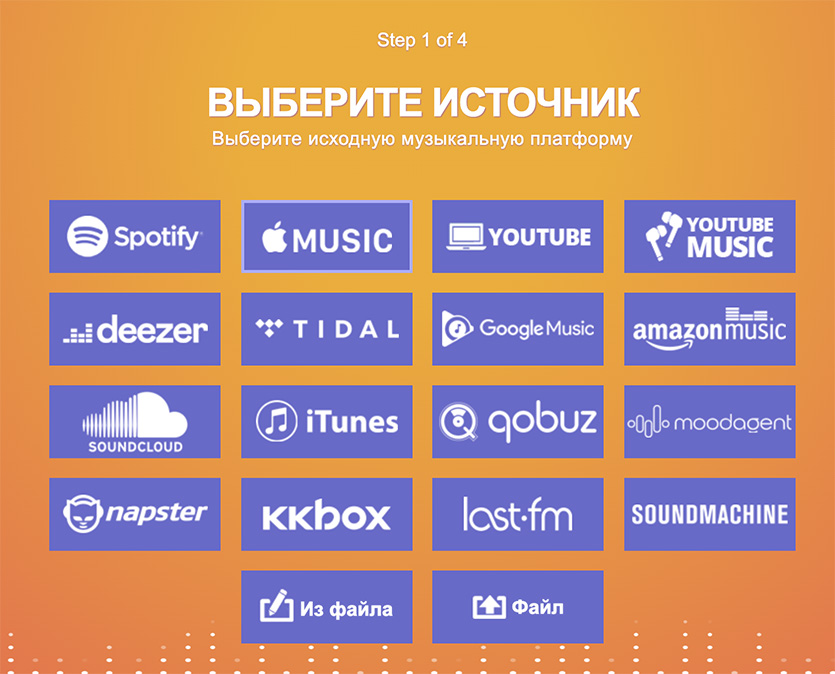
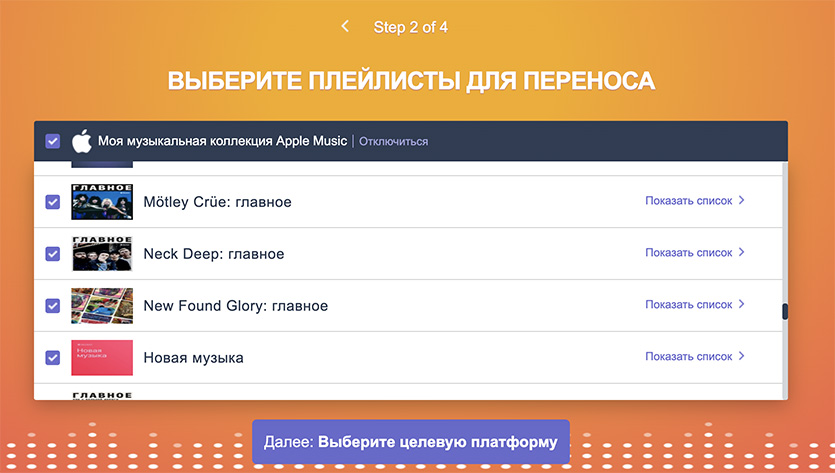
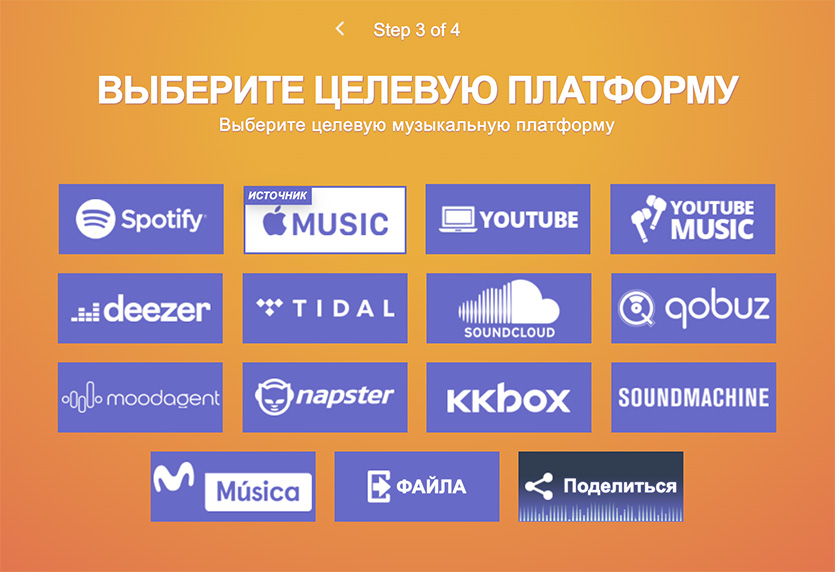
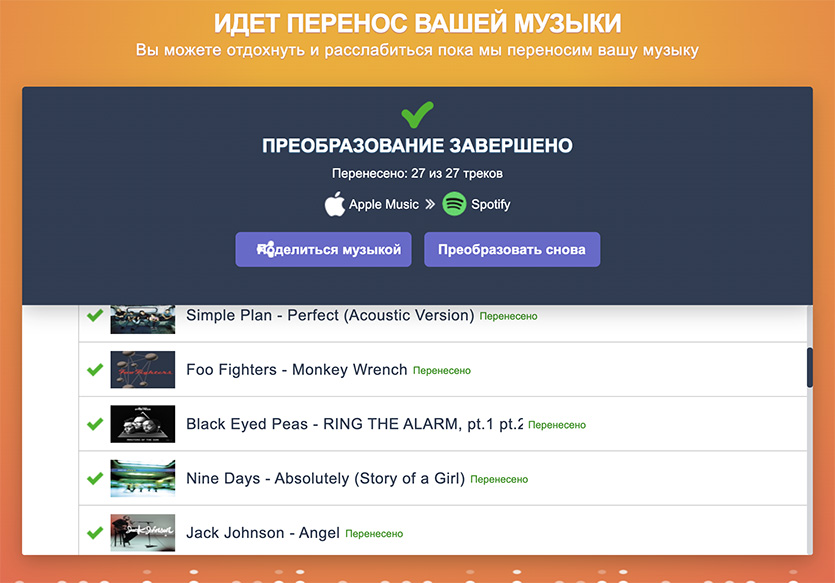
После окончания процесса выбранные плейлисты появятся в вашем аккаунте Spotify в разделе «Моя медиатека».
Вместо платы за перенос треков, в описании к экспортированному плейлисту в Spotify будет написано, что это было сделано с помощью сервиса Tune My Music. Удалить эту рекламку нельзя, но она и совершенно не мешает.
2. Soundiiz

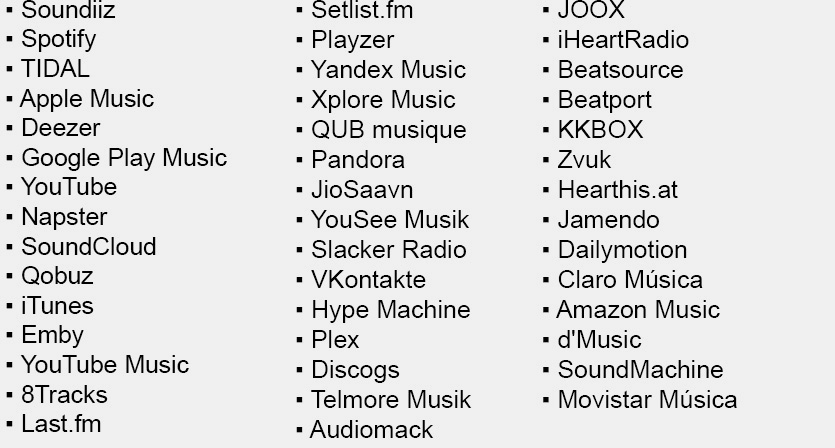
Доступен обмен музыкой между сервисами:
Плюсы:
▪︎ поддержка практически всех музыкальных платформ, даже самых экзотических
Минусы:
▪︎ Нужно регистрироваться в сервисе
▪︎ Импорт сразу нескольких плейлистов платный, €4,5 в месяц
▪︎ Из-за большой нагрузки на сервер невозможно создать новый аккаунт на момент написания этой статьи
Soundiiz дружит с огромным количеством музыкальных платформ, между которыми можно перекидывать плейлисты. Принцип точно такой же, как и в Tune My Music.
Нужно зарегистрироваться, выбрать музыкальный сервис из которого хотите вытянуть плейлист, затем выбрать нужный плейлист и указать конечную площадку, в нашем случае – Spotify.
Бесплатно можно перегонять по одному плейлисту. Если хочется выбрать сразу несколько, или все – можно и заплатить один раз €4,5. У вас будет месяц, чтобы вдумчиво добавить всю музыку со всех своих стриминговых платформ в Spotify.
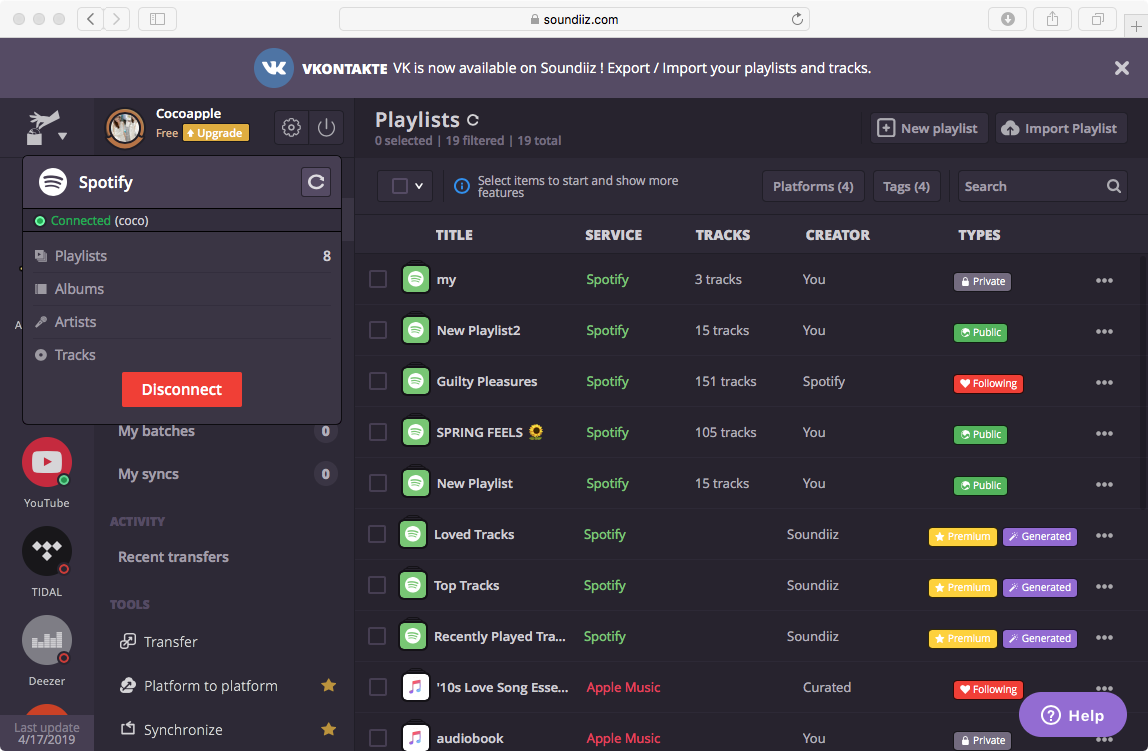
Мы уже писали подробно именно про Soundiiz, когда эта тема ещё мало кого интересовала.
3. SongShift
Доступен обмен музыкой между сервисами:
▪︎ Apple Music
▪︎ Deezer
▪︎ Tidal
▪︎ Amazon Music
▪︎ Discogs
▪︎ HypeMashine
▪︎ Pandora
▪︎ Napster
▪︎ Qobuz
Плюсы:
▪︎ Не нужно регистрироваться
▪︎ Перенос музыки полностью бесплатный
▪︎ Все делается через мобильное приложение
Минусы:
▪︎ Нет поддержки отечественных сервисов Яндекс.Музыка и ВКонтакте
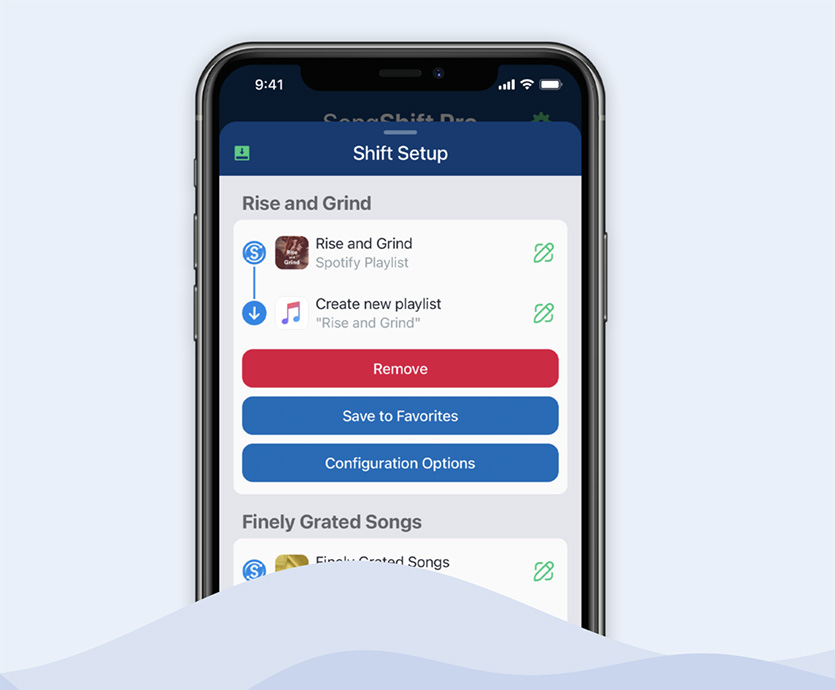
Этот мобильный сервис работает по тому же принципу, что и web-аналоги: выбираете исходную и конечную музыкальную платформу, отмечаете, какие плейлисты нужно перенести и ждёте.
В отличие от двух других вариантов, перенесенные через SongShift плейлисты появляются в Spotify не сразу. Лично у меня – через 10 минут после завершения трансфера.
Жаль, что нет поддержки отечественных сервисов, но для них можете попробовать другое мобильное приложение, SpotiApp от наших разработчиков. Та самая «половина способа».
Это приложение определяет музыку по скриншотам. То есть, нужно заскринить плейлист в одном музыкальном сервисе и скормить его в SpotiApp. Работает пока кривовато, музыку распознаёт через раз.
Однако, если вам нужно перенести плейлисты из Boom, например – можете попытаться.
Чем воспользовался я
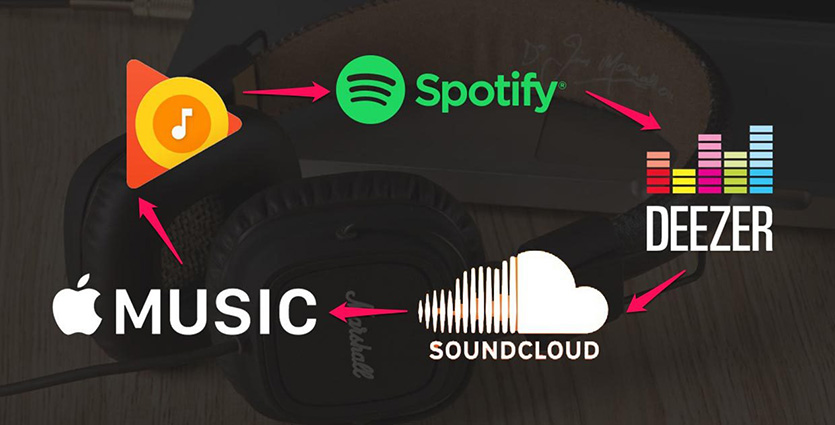
Ещё раз, вот все вышеперечисленные сервисы для переноса плейлистов между музыкальными платформами:
Из всех вышеперечисленных сервисов я отдал предпочтение Tune My Music за простоту и лёгкость использования. Правда, мне повезло – в основном я слушал Apple Music, так что с переносом своей тамошней медиатеки в Spotify проблем не возникло никаких.
А если вы давно сидели в Яндекс.Музыке, то вам нужен Soundiiz. Разработчики обещают открыть регистрацию новых пользователей буквально через несколько часов.
В закладки
How to move from Apple Music to Spotify

Apple Music sucks. Let’s not beat about the bush here. I’ve paid for Apple Music since it was released (minus the mandatory free trial) and I’m sick to death of the poor user experience, serious lack of updates and general awful time I’ve had with the service. If anyone disputes Apple’s declining software quality, shove Apple Music in their face for 10 days and they’ll be converted. I could rant for days about how it permanently damaged my music collection or how poorly integrated it is with iTunes but I leave that for another post. Right now, I’m helping anyone out there with similar frustrations migrate (back) to Spotify who will hopefully accept us with open arms.
The existing solutions for migrating my Apple Music library to Spotify were either non-existant, too expensive or plain didn’t work. I wasn’t going to go through each track in my big library, find it on Spotify and add it to my playlists. That goes against everything I believe in: if you have to do a repetitive task to the point where it’s boring, automate it. So I did what I’m good at and I banged out a couple of lines of code. Polytunes was born.
Polytunes
Polytunes is an open source command line tool the will do the grunt work for you. You simply configure it to talk to your music libraries and let it do it’s job of searching for the tracks, adding them to their playlists, removing duplicates and so on. It makes things a breeze but does require a little command line knowledge and some setup. Hopefully, in the future, we can get some sort of user interface going but for now, this is a guide for migrating your music library on the command line.
First off, let’s install Polytunes. You need npm and Node.js v6.0.0 (or above) installed. We install polytunes via npm:
Next, we need to configure the drivers used to communicated with your music libraries.
Configuring your Apple Music Library
The Apple Music driver works by extracting data from an iTunes library export file. To export your library, open iTunes and go to File > Library > Export Library and save the XML file somewhere you’ll remember (try the Desktop).
Now, remember the path to that XML file, you’ll need it later.
Configuring your Spotify Library
I’ll assume you have a Spotify account at this point, have tried it out and wondering why you ever left at all. Communicating with the Spotify is tricky. Spotify has an awesome Web API that we use to manipulate your music library but it uses a pretty complicated login flow call OAuth. It’s not exactly friendly to CLI apps, to say the least. We need to manually generate our API tokens that will allow us to talk to Spotify’s API and migrate your library.
- Create your Spotify Client.
We need to let Spotify know that’ll we be communicating with it and to do that, we have to create an Application in the Spotify Developer Portal. This will give us a Client ID and secret, note them. It doesn’t matter about the details of the application, it’s just us that will be using it.
2. Get our request bin.
The Spotify login flow requires an online server to talk to once we try to login via our application. Since we’re only a lowly CLI app, we don’t have such luxuries. For the purposes of this simple import, we can use a simple, free online service to do this for us called RequestB.in. Request Bin gives us a random URL and saves any requests that hit that URL for us to come back and inspect. This is useful because the Spotify API requires a URL to store login information once we complete our login request.
Go to http://requestb.in and get your unique bin URL.
3. Add our Redirect URI.
Now, back to the Spotify developer portal, we add our unique request bin URL (without the “?inspect” suffix!) as a Redirect URI on our application. Save the changes to your application.
4. Get our OAuth code.
Now we need to get our code for the next step in the OAuth process. We need our Client ID (which you can get from our application page on the Spotify Developer Portal) and our request bin URL to insert them into the following URL (replace “<CLIENT_ID>” and “<REQUEST_BIN_URL>”):
Stick the modified URL into your browser and you should be presented with a Spotify Login or Authorization page. Login to your account and authorize your app and you should be redirected to our unique Request Bin that just displays a loud “OK” page. Don’t close page! Copy the URL in your browser, it should have a long code like:
This is the code were looking for, the final piece of the puzzle. We now send that token to the Spotify API (POST request) and we should have our access.
5. Posting the code to the Spotify API.
Were nearly there, promise. Now, we have all the data needed to get our access.
- Client ID and Client Secret from our application page on the Spotify Developer Portal.
- Request Bin URL from Step 3.
- OAuth Code from Step 4.
We send these tokens to the Spotify API via a cURL request. Fill in the following fields with your data and execute the command.
You should get a success response with the following data:
The refresh_token is the one were after. It should look a lot longer than above. With the refresh_token, client secret and id, we now have full access to the Spotify API for Polytunes.
We can configure Polytunes in a two ways, but for convenience, were going to use the environment route. Create a file called “.env” and add your tokens to it you got from the steps above. The contents of your .env file:
Now, all we have to do is source that file and Polytunes should be configured. Give it a try and test the configuration with the “library” command:
Import your Apple Music library into Spotify
Now all the hard work is over, let Polytunes do that rest. Let’s fire up the importer and have it run on your library. Polytunes will copy over all playlists from your iTunes library to your Spotify library. For this step, we’ll need the path to your Apple Music library export file from the very start (replace “<PATH>” in the following command with it):
Grab a coffee and let it do it’s thing. Polytunes checks to see if a song has already been added so you can run the above command as many times as you like and it won’t add any duplicates. If you only want to copy specific playlists, you can specify by name them in a space separated list (see “polytunes —help” for more information). The importer tries to match songs with the Spotify database and sometimes that doesn’t always happen (either because Spotify doesn’t have the rights or know the track) so it will skip these tracks.
Done! Your music library is now automatically being imported to Spotify. With apps like these, it paves the way for a more liberated music library that isn’t attached to any third party service but to you. Hopefully, in the future, we can bring this service online and add more drivers for all the music players. For now though, close iTunes and never go back.
If you thought this was useful or have any questions, reach out to me on Twitter or email. Thanks for reading! The source code for Polytunes is hosted on Github, come along and help out.
Как просто перенести любимые песни в Spotify
Уже точно известно, что завтра, 15 июля, Spotify приходит в Россию. Приложение есть в AppStore и Google Play, россияне могут спокойно создавать аккаунты прямо в приложении. В общем, топ! Всё это подтвердил официальный аккаунт Spotify на YouTube:
Итак, для лёгкого переноса треков вам потребуется компьютер. На нём должно быть установлено приложение вашего стримингового сервиса либо должна быть произведена авторизация через браузер компьютера.
Для начала рассмотрим способ, если вы пользуетесь Apple Music, Deezer, YouTube Music или каким-нибудь Tidal — то есть зарубежными сервисами.
Почему стоит слушать музыку исключительно в Spotify
/>Александр Побыванец
Способ первый
Для начала зайдите, зарегистрируйтесь и подтвердите аккаунт в сервисе Tune my music.
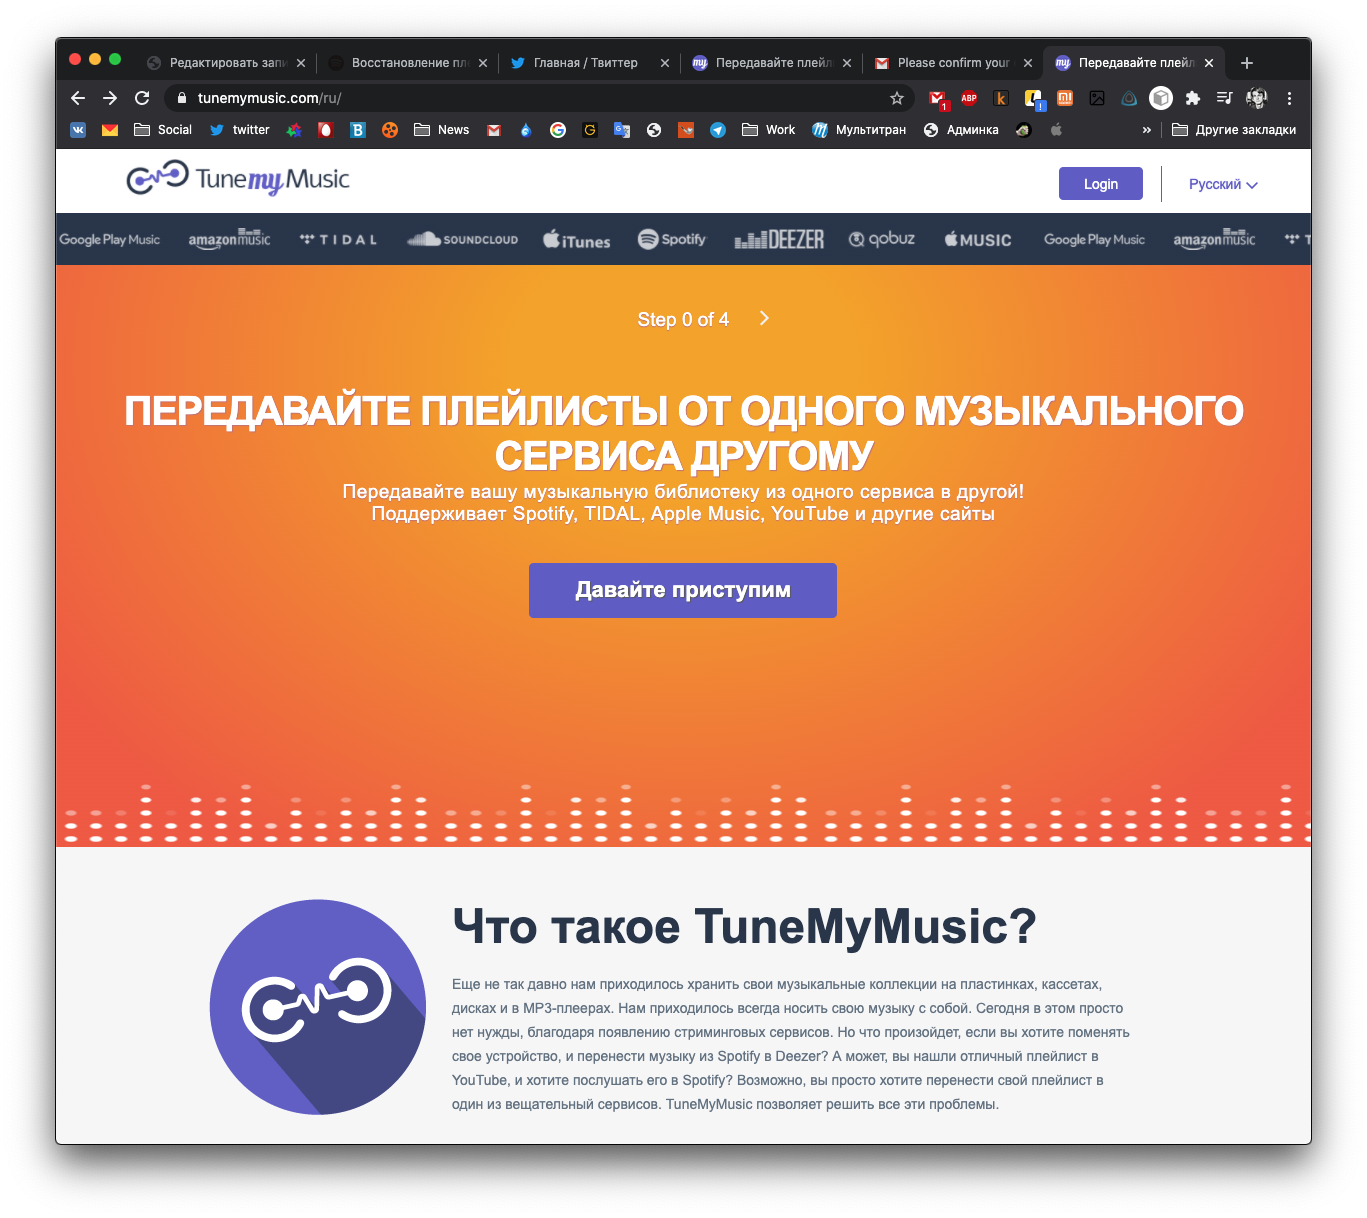
Затем на главной странице нажмите кнопку «Давайте приступим»:
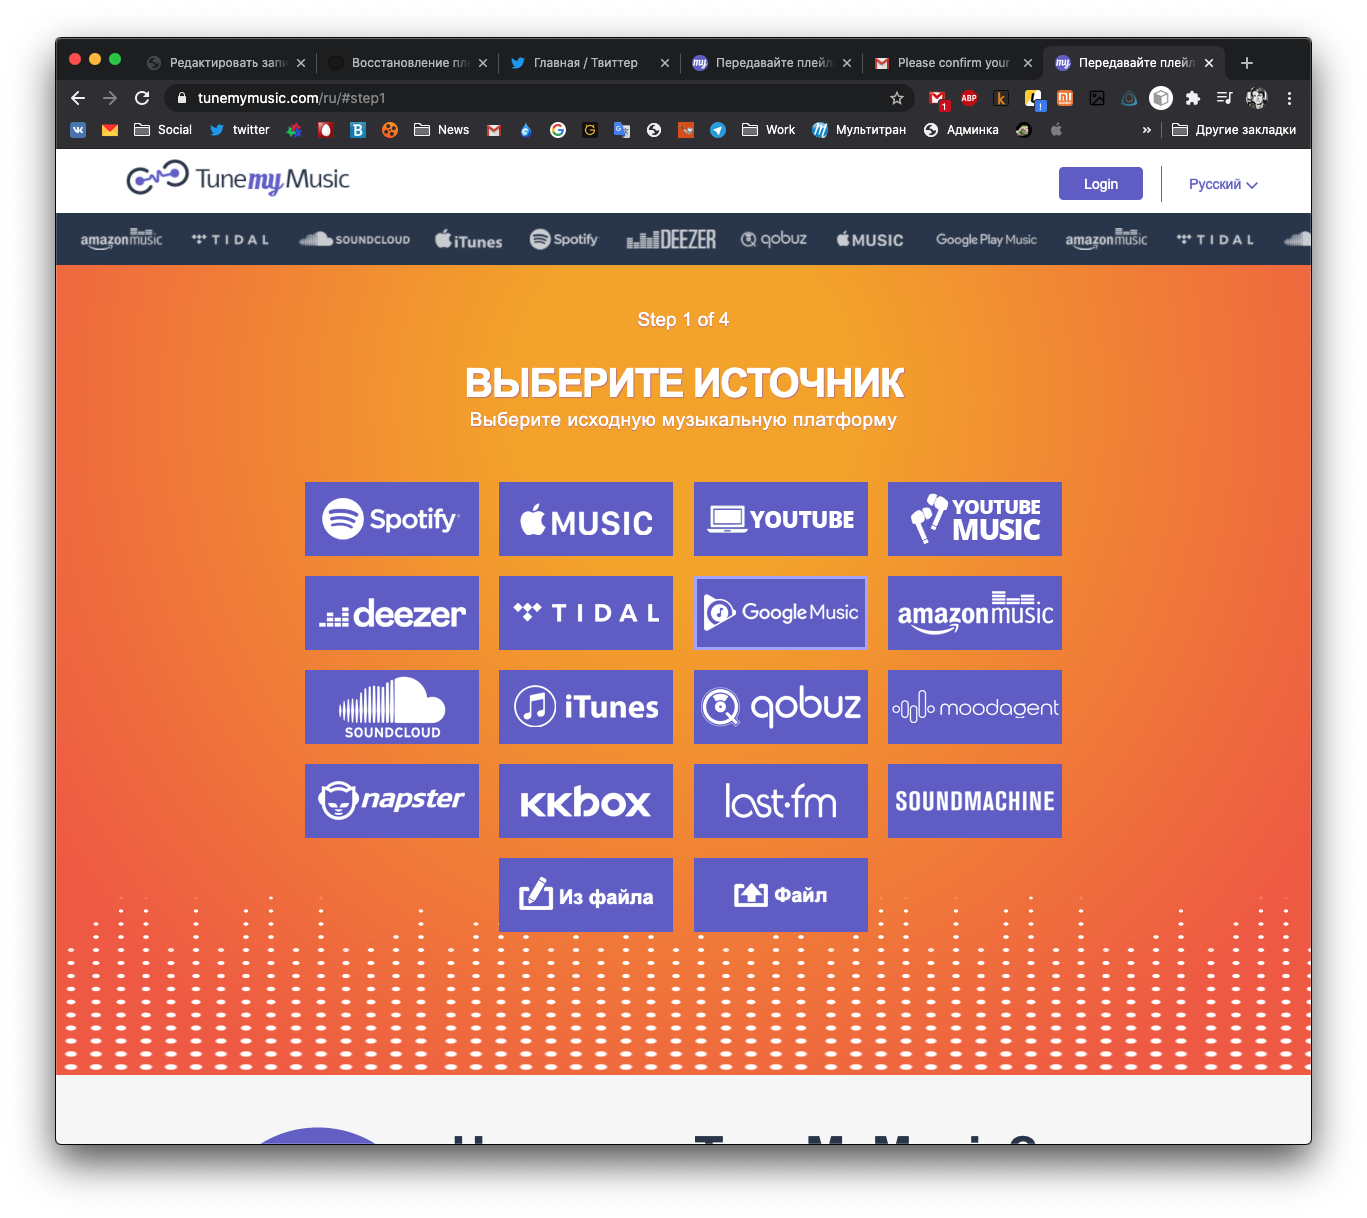
Далее вам потребуется авторизоваться в браузере в сервисе, из которого вы хотите перенести треки:
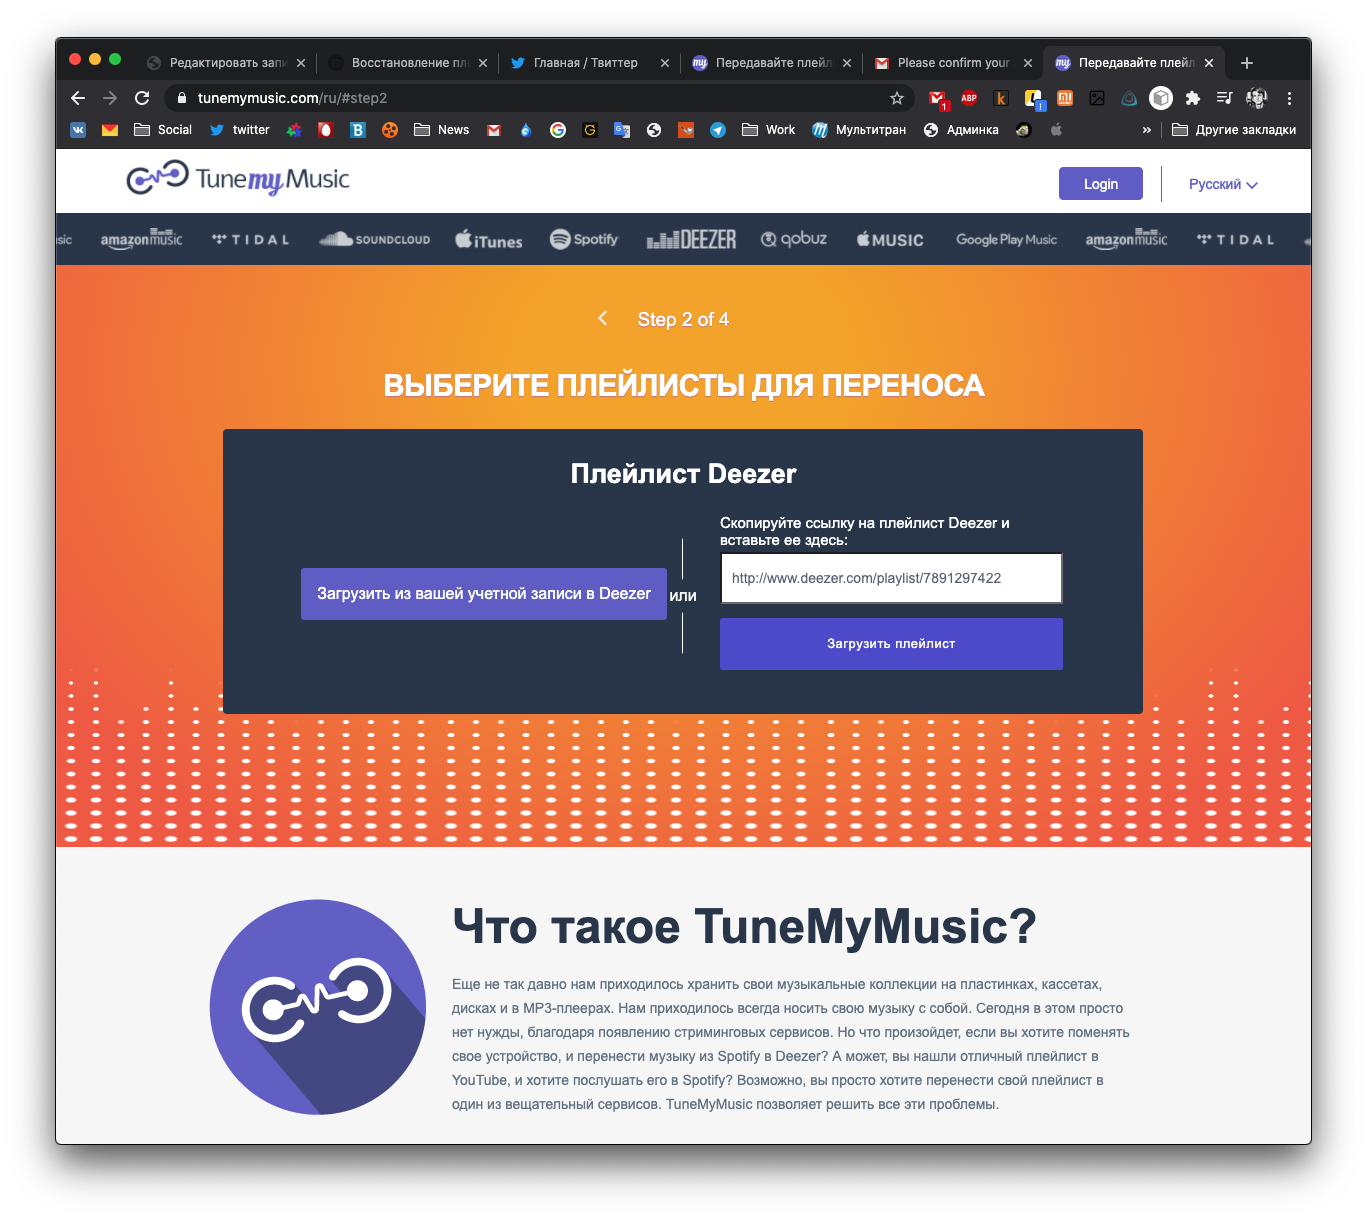
Я использую Deezer. И именно в браузере смог скопировать ссылку на плейлист с любимыми треками. Ни в десктопном приложении, ни на смартфоне сделать это не получилось. Аналогичная история у коллег с Apple Music, за тем исключением, что в десктопном приложении можно достать ссылку на плейлист.
Теперь вас попросят выбрать платформу, куда вы будете копировать плейлист. Тут вам потребуется авторизоваться в Spotify:
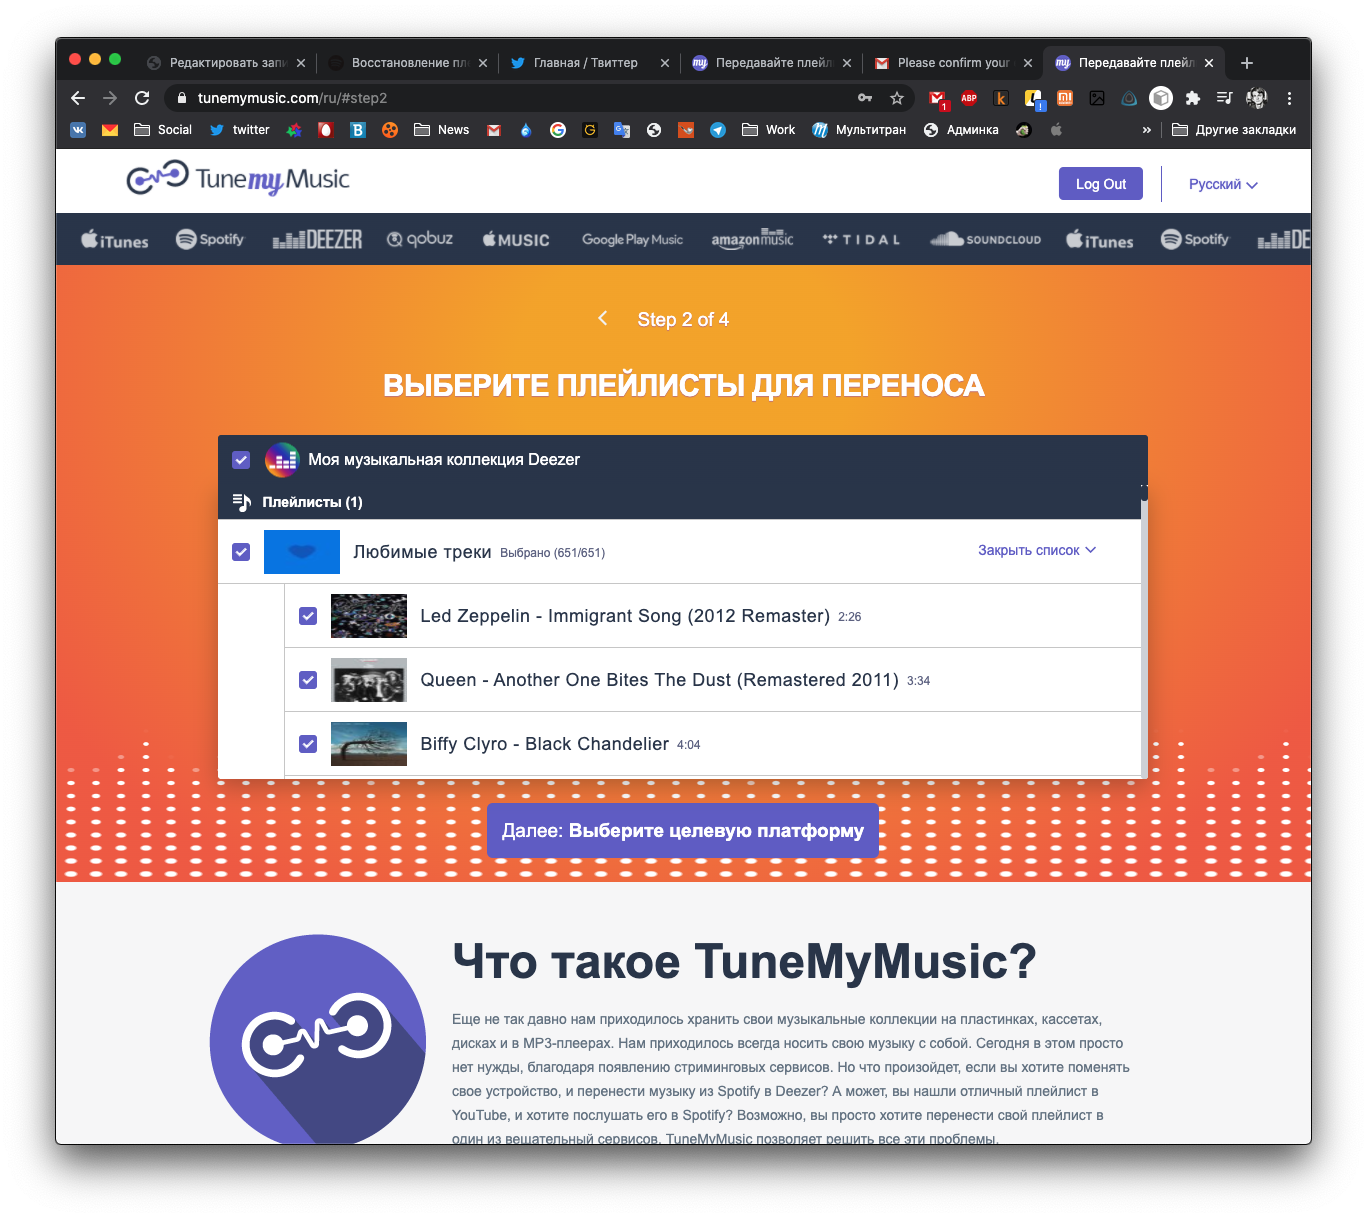
Тут вы уже можете начать перенос музыки:
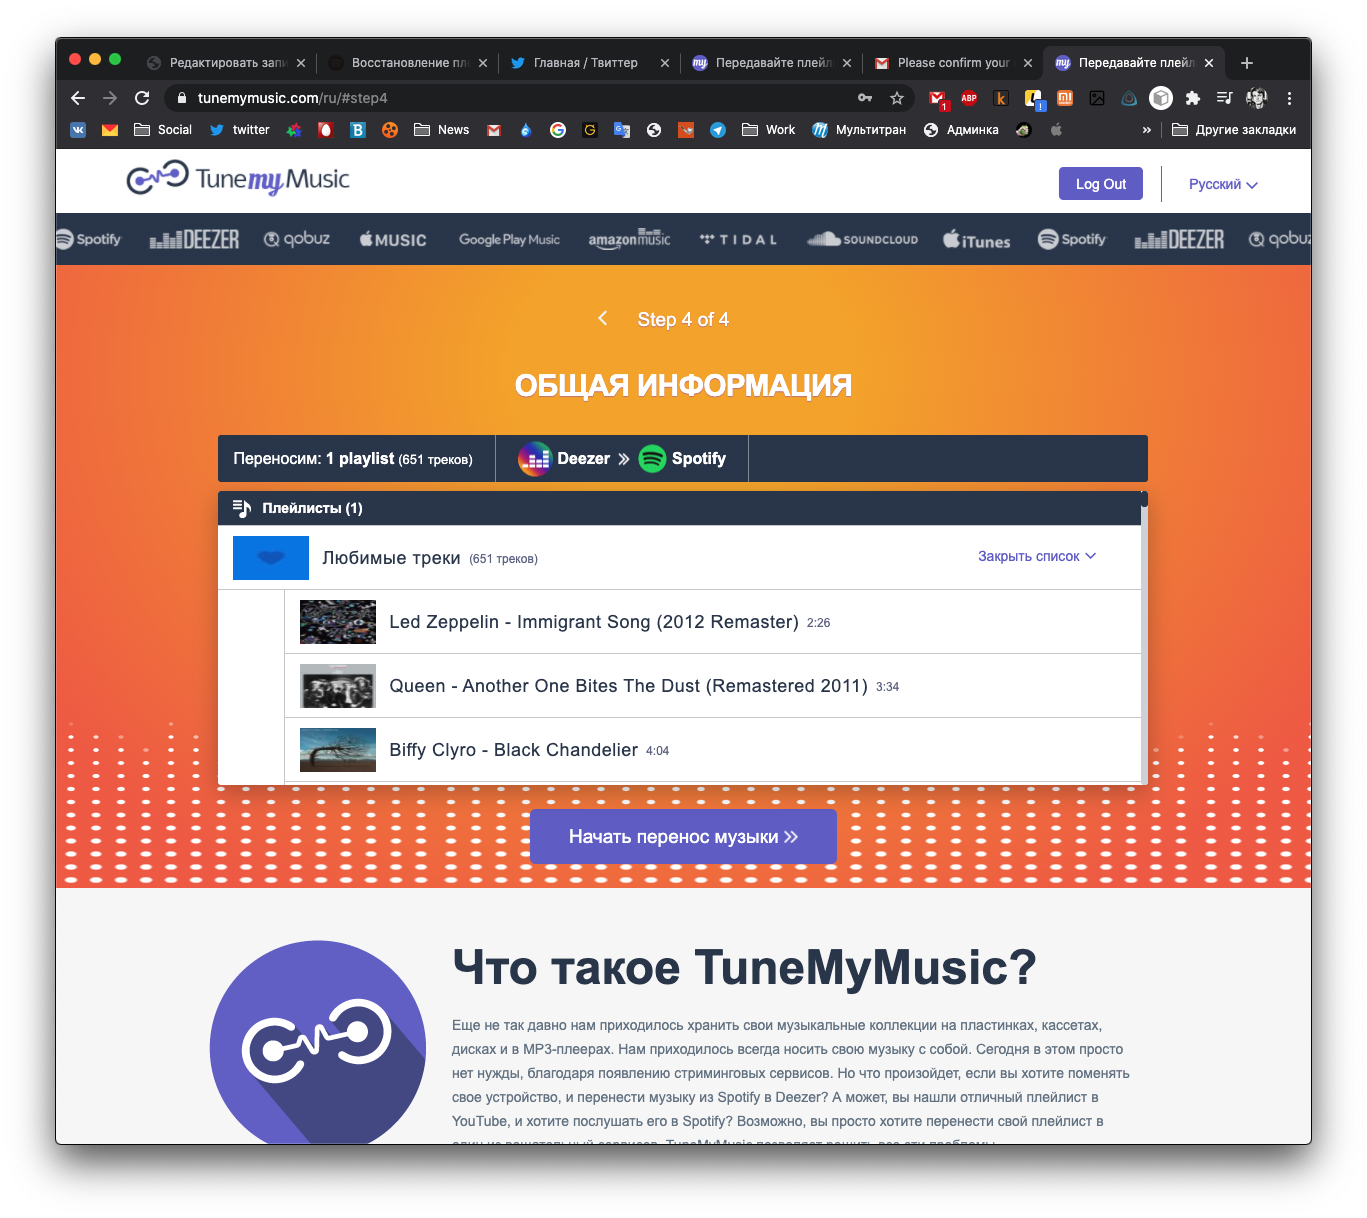
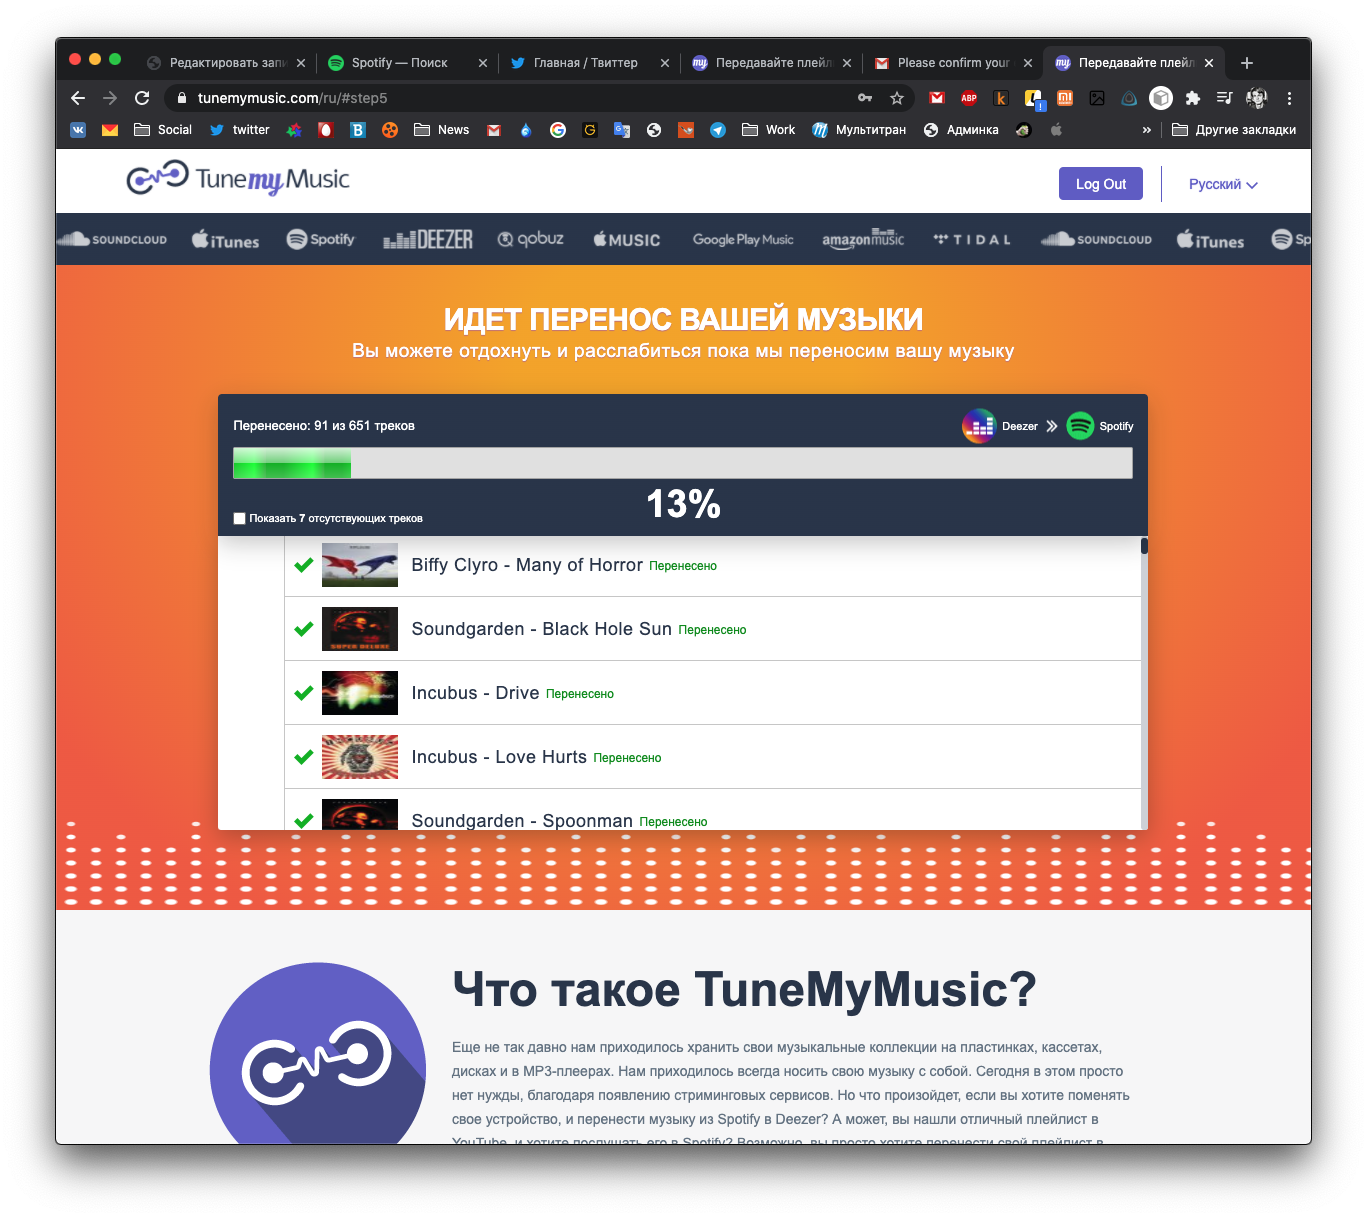
Перенос будет долгим: у меня за час перенеслось порядка двух сотен треков.
Способ второй
Если у вас «Яндекс.Музыка» или «ВКонтакте»
Для этих сервисов нужно воспользоваться платформой Soundiiz. Но учтите: она платная. Тут действует подписка за 4,5 € в месяц.
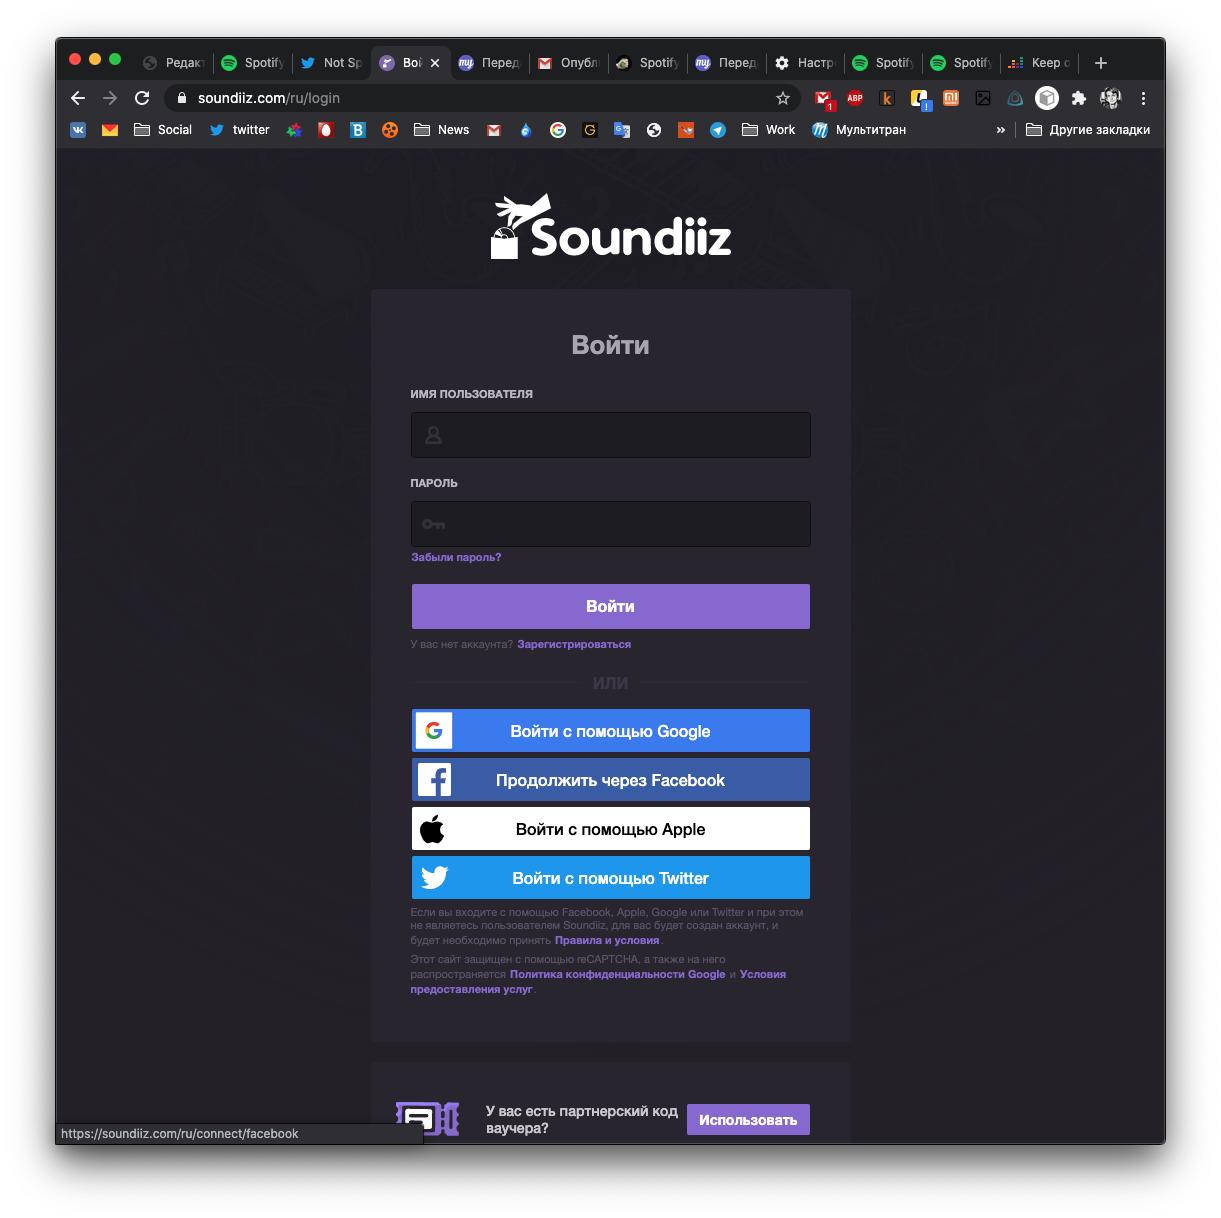
История такая. Заходите и авторизуйтесь:
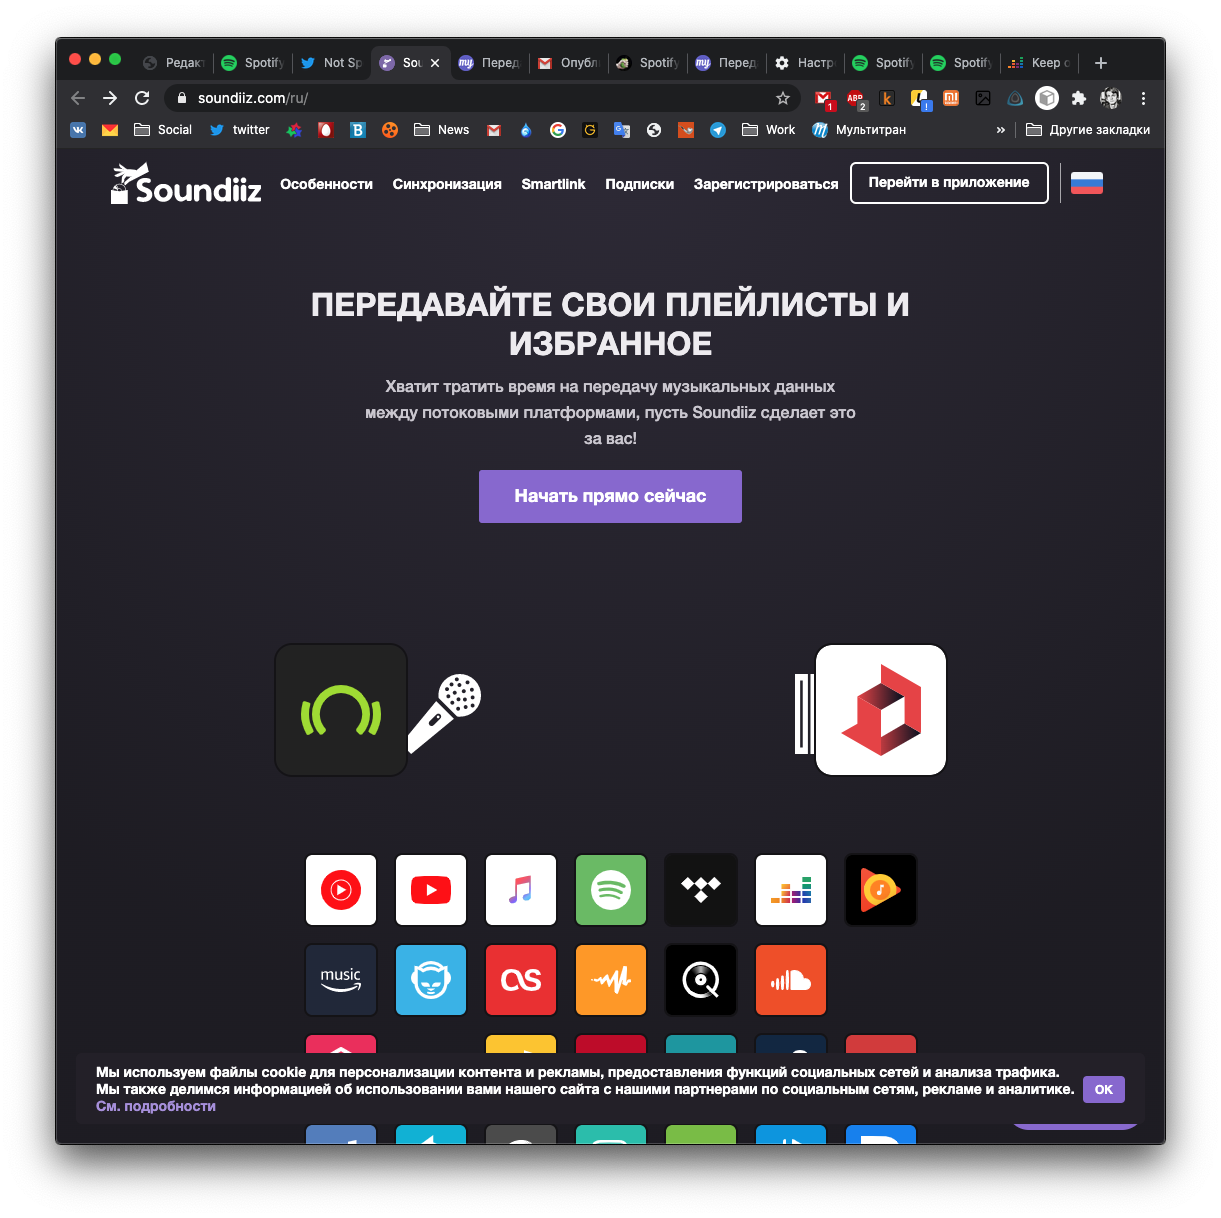
Вот так выглядит интерфейс приложения:
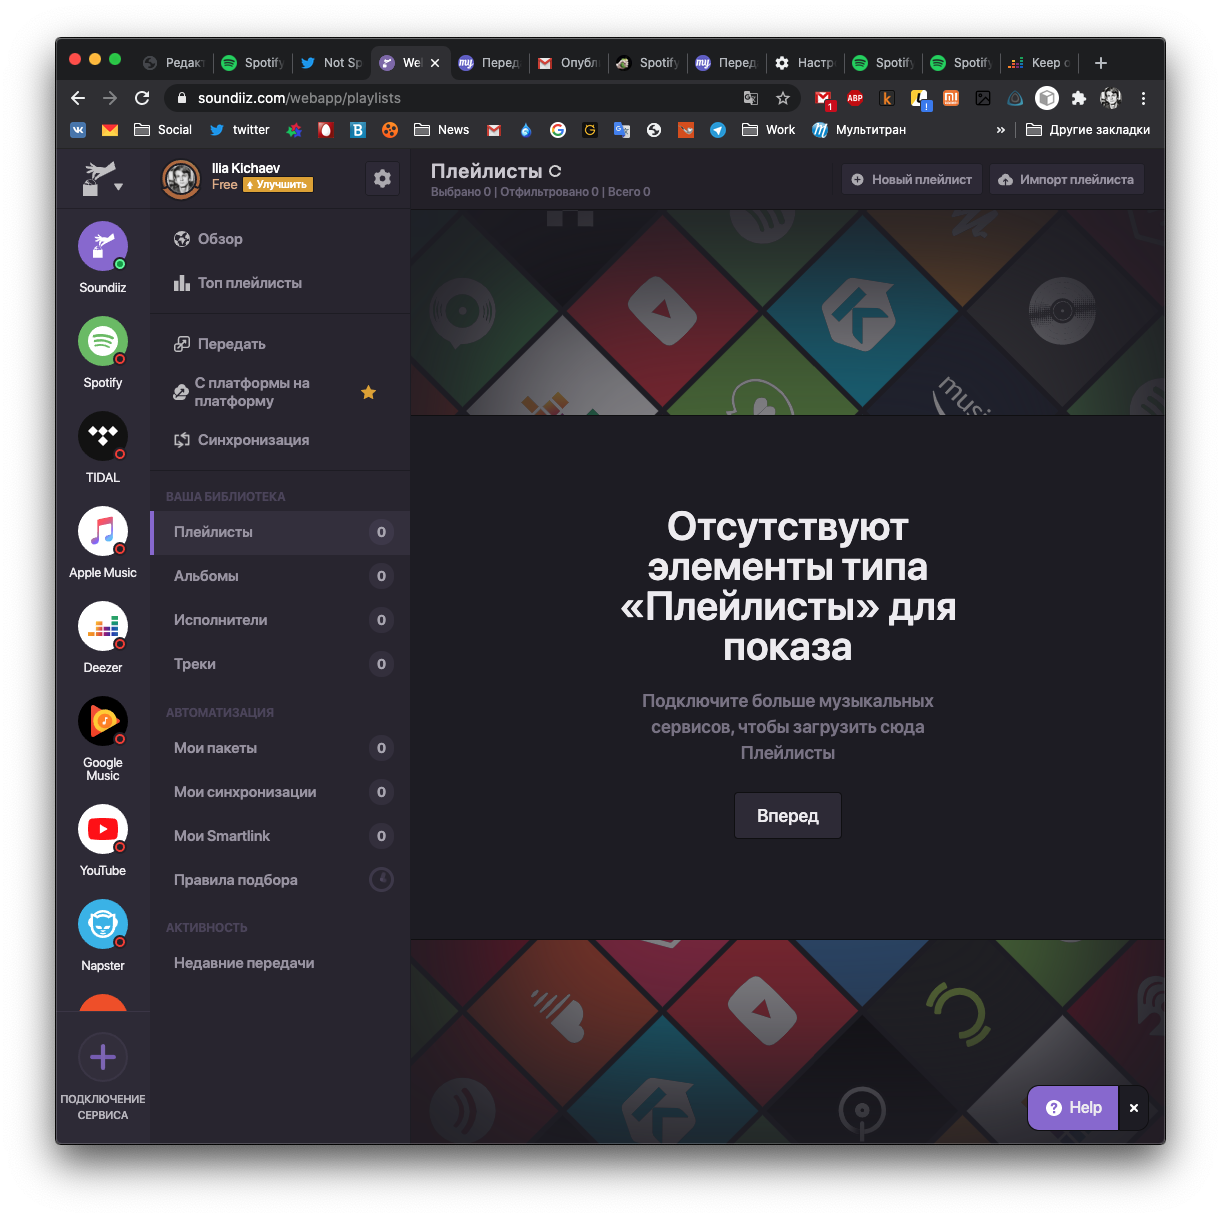
Я хочу перенести свои 87 треков из «Яндекса» в Spotify. Соответственно, я авторизуюсь в обоих сервисах. После этого нужно выбрать раздел «С платформы на платформу» (отмечен звёздочкой на предыдущем скриншоте).
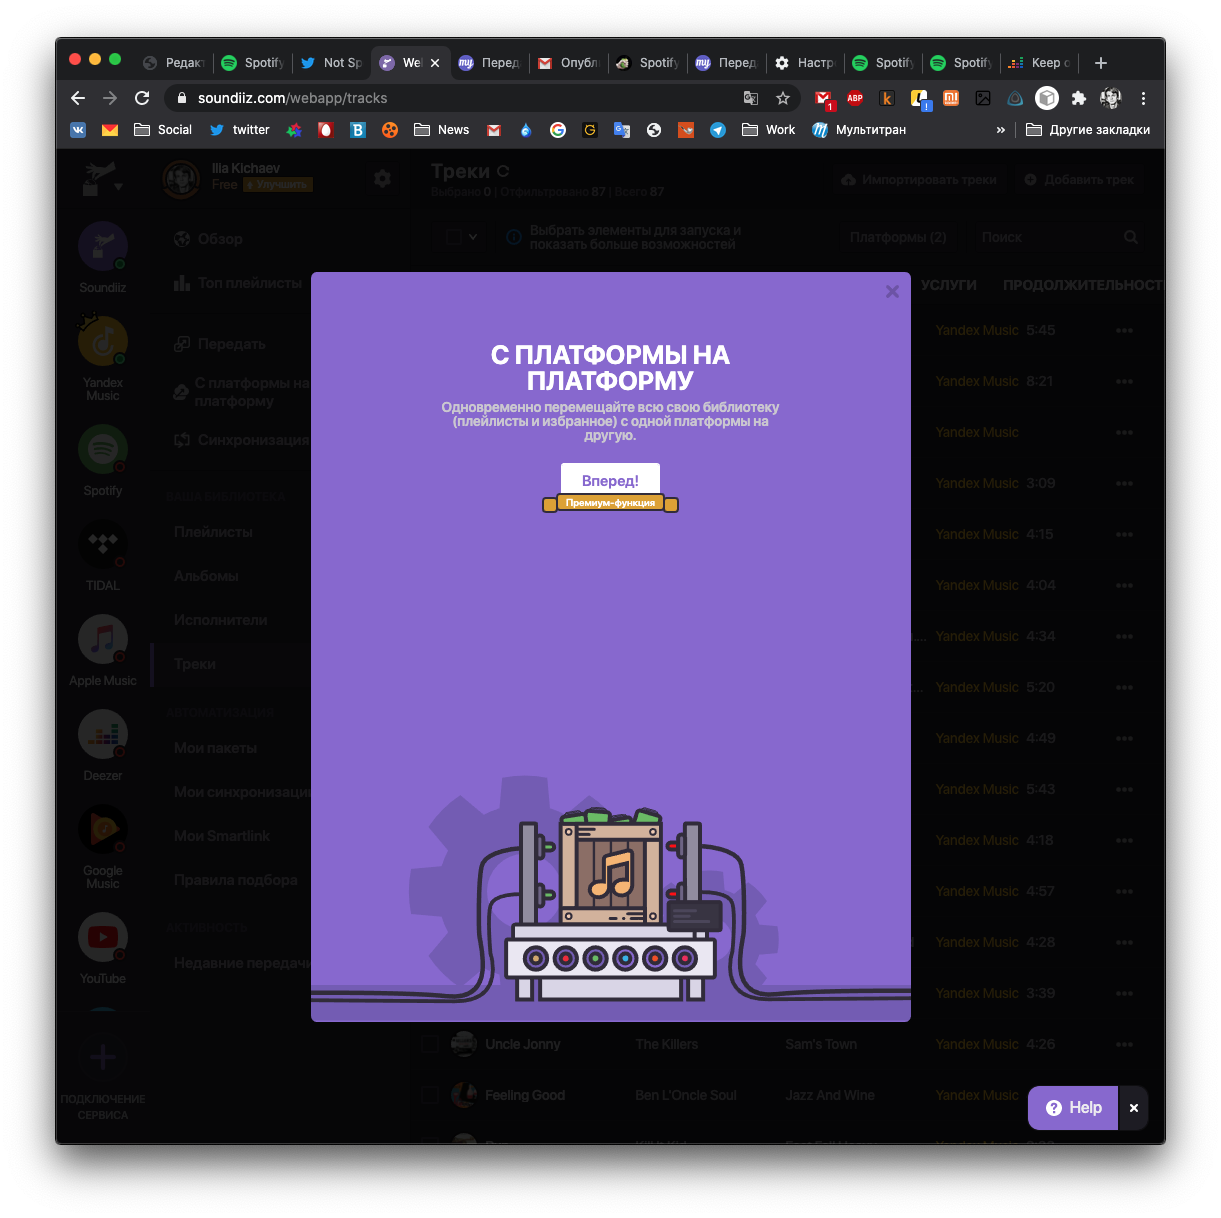
Принцип такой же: выбираете сервис, откуда вы хотите скопировать музыку, а затем сервис, куда она должна быть скопирована.
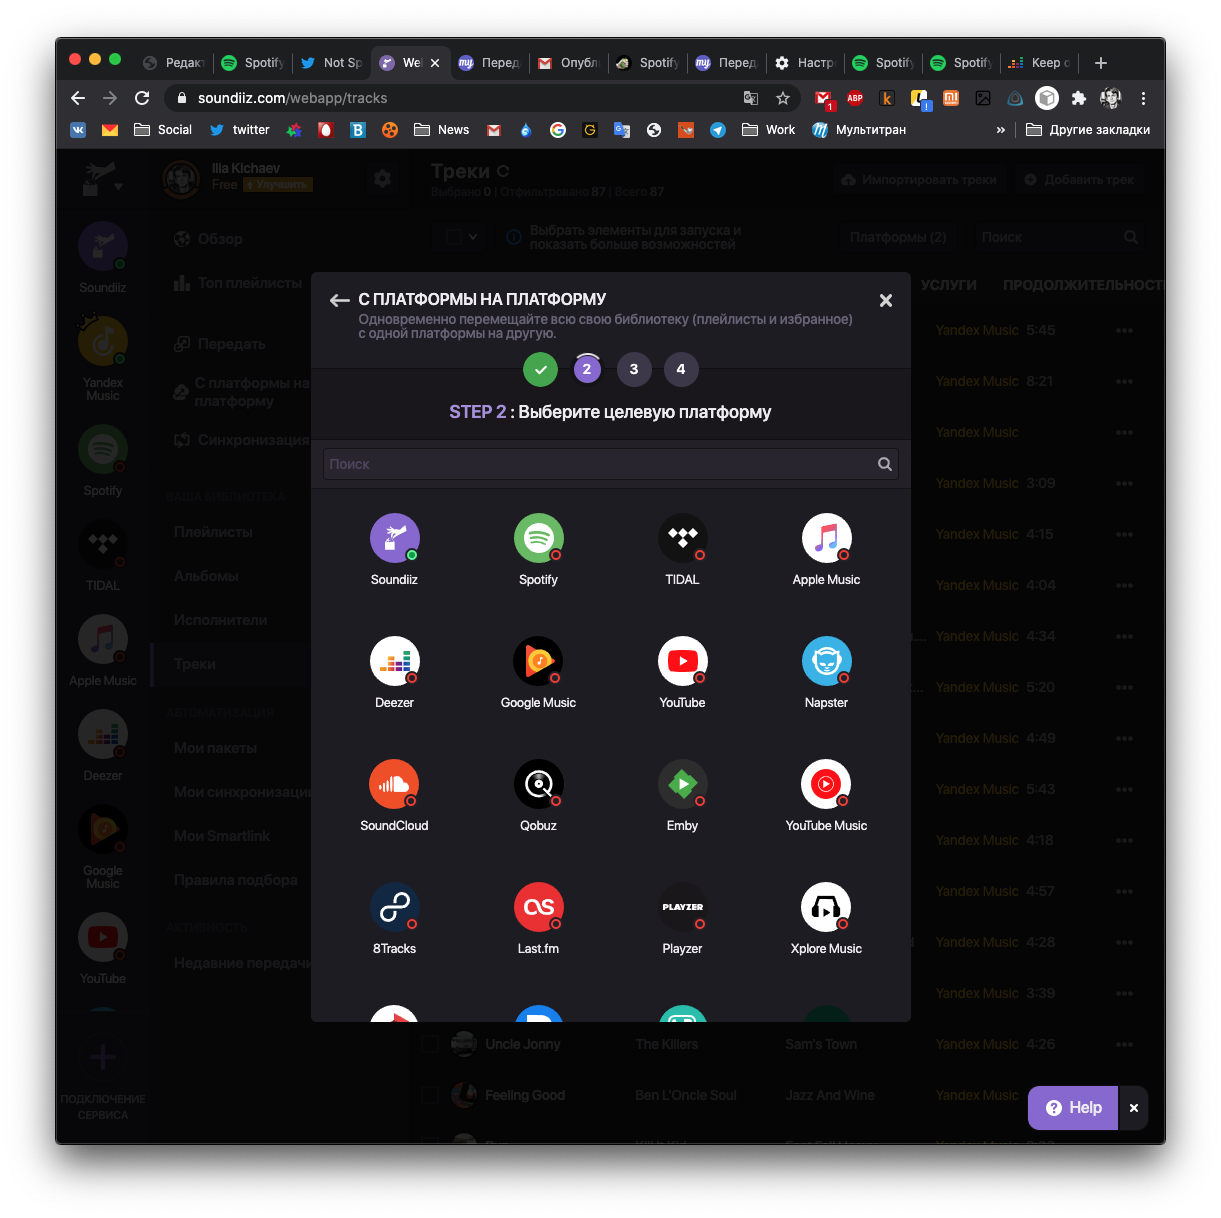
Затем выбирайте плейлисты, исполнителей, альбомы или отдельные треки:
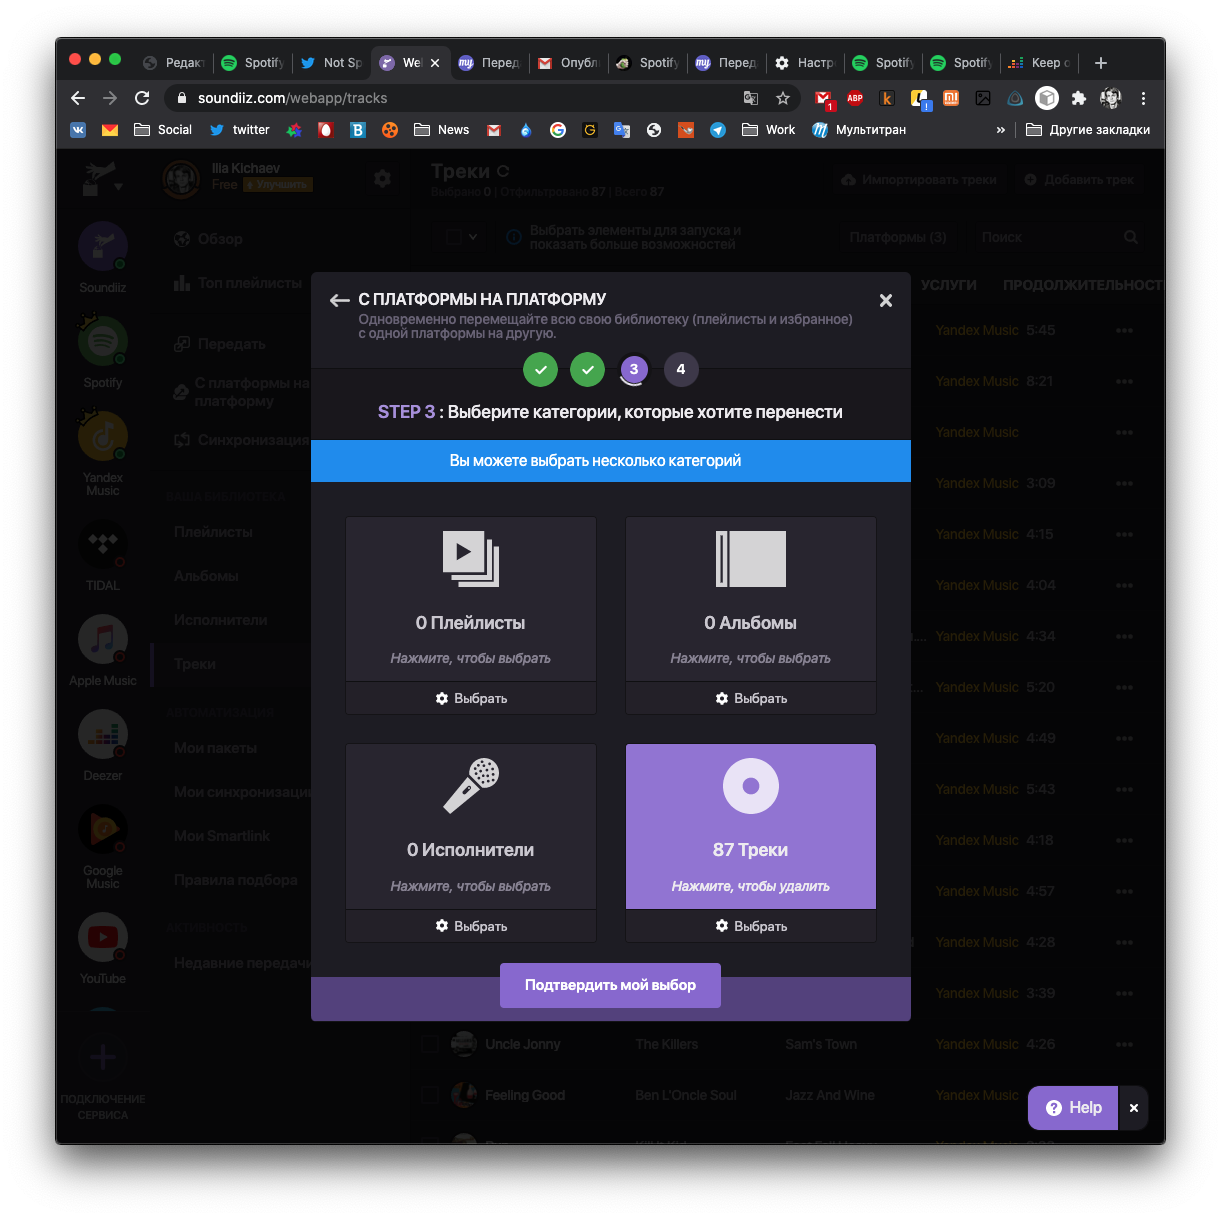
Ну а дальше платите деньги:
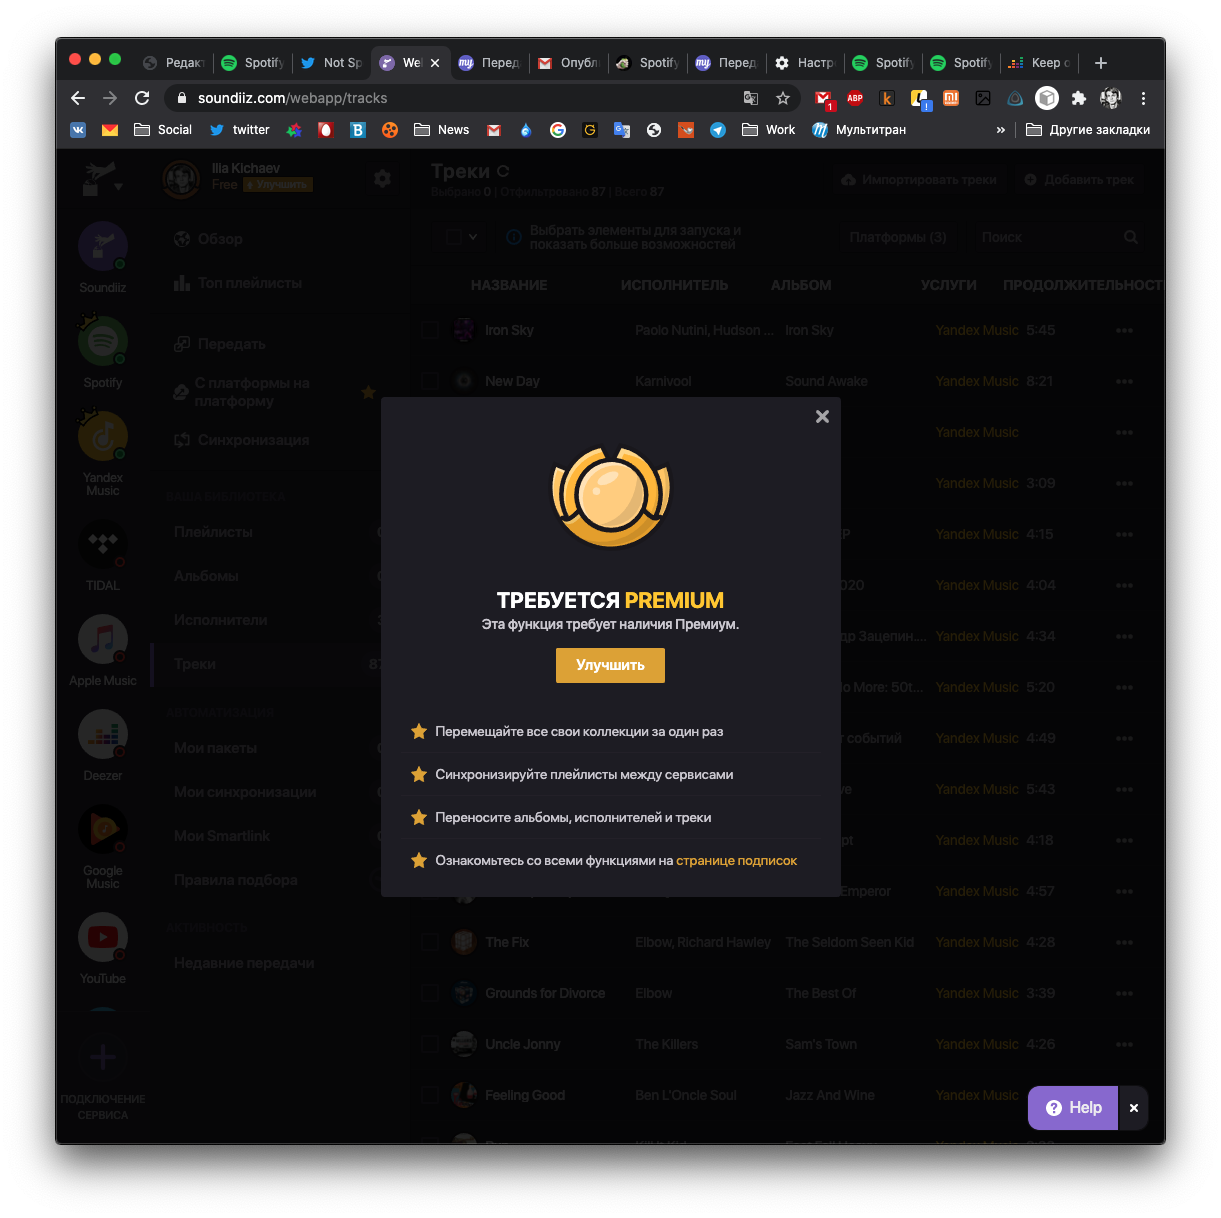
Но тут стоит учитывать, что вы просто в своём аккаунте создаёте плейлист. Треки не отмечаются как любимые, то есть крутые рекомендации, которыми славится Spotify, не будут основываться на этих песнях. Каждую из них придётся вручную отлайкать. У меня вот 651 трек в Deezer, а во «ВКонтакте» вообще больше двух тысяч песен. Неудобно. Да и Tune my music почему-то не находит множество треков, которые есть и в Deezer, и в Spotify.
Правда, пользоваться сервисом я вряд ли буду: интерес к нему был год назад, а теперь угас.
А есть ли бесплатные сервисы для переноса песен с Яндекс.Музыки?
Используйте SpotiApp — приложение позволяет легко перенести музыку)
Сайт из статьи обосрался и не перенес ни одного трека
Песня не определяется из-за говна введеных метаданных в треки. Чтобы идентифицировать любую песню, картинку или квитанцию, должны быть правильно заполнены поля!
Реклама своего мобильного приложения чеек)
Много треков просто нет в spotify(( что русских исполнителей, что зарубежных
Отмена)) просто сервис по не понятным причинам их не перенес.
Классная штука, из 632 с яндекса нашло 622. А tunemusic не нашел 148, да и часть найденных не перенес.
Ну вот установил, подсунул скрин и? Ноль реакции.
надо зарегиться на нем, просто так выдает Упс!
Soundiiz за 5 часов ни одного трека не перенес….
Сервис упал вчера вечером из-за наплыва пользователей из России
попользовался спотифай несколько часов и не пойму — зачем переносить. работает всё бомбически и так. по началу тоже думал как перенести
Вспользовался сервисом чтобы перенести лайки из старого аккаунта Spotify за границей в премиуме в новый родной с новыми лайками. Немножко пришлось поплясать — первый шаг экспорт в цсв, второй из цсв в спотик, в разных приватных сессиях браузера
Ты предлагаешь скринить все 500+ треков? Когда на экране помещается 9 треков это еще учитывая то, что у меня не самый маленький телефон (iphone 11)
сомнительное удовольчтвие давать свои данные от Apple непонятному сервису
Лол, первым способом сегодня перенес с Яндекс.Музыки
Лол, круто когда ты программист. Написала скрипт на JavaScript для сбора наименований треков и спокойно из файла загрузила.
How To Transfer Apple Music To Spotify
But unfortunately, Apple only makes it seamless to move files only within its ecosystem. As a result, there’s no direct option on the Apple Music app to transfer your playlist to another independent app, like Spotify. However, we can still apply certain techniques to make it work. Let’s learn how to do it.
How to Transfer Apple Music to Spotify? #
Since Apple Music doesn’t provide any setting to move your music library to Spotify, we’ll need to opt for importing files locally or third-party apps.
Importing Local Files Using iTunes#
Although Apple doesn’t have a direct option, you can use the Local Files setting on Spotify. With this setting, you can freely transfer your playlist from either Apple Music or local folders on your PC. For this method to succeed, ensure your iTunes/Apple Music Library is updated with your desired playlists. Then, you can follow these steps: On DesktopYou can find all your imported songs here. If you wish to add any of the imported track to your existing playlists, right-click on it and click on Add to Playlist. Then, select your desired playlist.On Mobile
Using Third-Party Apps#
You can use some helpful apps, like FreeYourMusic, Soundiiz, or Tunemymusic. Apps like these come with various useful features and are easy to use. However, it’s worth noting that these apps can charge you a certain amount of fees. Out of the most third-party apps, we found FreeYourMusic to be the easiest to use. You can get it on Android, iOS, macOS, and Linux. So, here’s an example of how you can transfer Apple Music to Spotify using this app. Now, you can go to Spotify and check out your library from Apple Music. If you don’t want to keep following these steps in the future, FreeYourMusic also lets you auto-sync your playlists. However, you can only access it with its premium plan.
How to Move Spotify Library to Apple Music?#
If all your favorite tracks or playlists are on Spotify and you want to move them to Apple Music, you can refer to the same methods above. While selecting the source on the FreeYourMusic app, simply choose Spotify as the Source and then pick Apple Music as the destination. Then, follow the same methods and complete your transfer to Apple Music.
How to Transfer YouTube Music to Spotify?#
Transferring your music data from YouTube Music to Spotify is the same as above. You can use any of the suggested third-party apps and select YouTube Music as the source. Similarly, you can pick Spotify as your destination platform. Then, you can complete the transfer process. 


